安装部署
新建命名空间并部署项目资源
1
2
| kubectl create namespace argo
kubectl apply -n argo -f https://github.com/argoproj/argo-workflows/releases/download/v3.5.10/install.yaml
|
暴露服务
默认情况下, argo workflows 服务不对外暴露服务,可以通过 LoadBalancer 或者 NodePort 类型的 Service、Ingress、Kubectl 端口转发等方式将 argo workflows 服务发布到 Kubernetes 集群外部。
由于是 vm 自建,所以选择使用 NodePort 的方式暴露服务。
1
| kubectl patch svc argo-server -n argo -p '{"spec": {"type": "NodePort"}}'
|
查看随机暴露的端口
1
2
3
| root@devops:~# kubectl get svc -n argo
NAME TYPE CLUSTER-IP EXTERNAL-IP PORT(S) AGE
argo-server NodePort 10.43.35.195 <none> 2746:30701/TCP 4m28s
|
访问 UI
使用 node:30701 访问

由于默认部署后需要集成登录。但是本机为了测试,可以手动更改鉴权方式,让他走 k8s 的 serviceaccount 认证。
1
2
3
4
5
6
7
8
| kubectl patch deployment \
argo-server \
--namespace argo \
--type='json' \
-p='[{"op": "replace", "path": "/spec/template/spec/containers/0/args", "value": [
"server",
"--auth-mode=server"
]}]'
|
再次访问 UI

安装 argo 命令
1
2
3
4
5
6
7
8
9
10
11
12
13
14
15
16
17
18
19
20
21
22
23
24
25
26
|
curl -sLO https://github.com/argoproj/argo-workflows/releases/download/v3.5.10/argo-linux-amd64.gz
gunzip argo-linux-amd64.gz
chmod +x argo-linux-amd64
mv ./argo-linux-amd64 /usr/local/bin/argo
argo version
------------------------------------
root@devops:~/argo# argo version
argo: v3.5.10
BuildDate: 2024-08-01T05:52:04Z
GitCommit: 25829927431d9a0f46d17b72ae74aedb8d700884
GitTreeState: clean
GitTag: v3.5.10
GoVersion: go1.21.12
Compiler: gc
Platform: linux/amd64
root@devops:~/argo#
|
创建 hello world
提交工作流的时候,需要指定 serviceaccount 账号,不指定会使用默认的 default 账号,default 账号没有相关权限,会执行失败
为了本地测试方便,可以给serviceaccount直接admin权限
1
2
| kubectl create rolebinding default-admin --clusterrole=admin --serviceaccount=argo:default -n argo
argo submit --serviceaccount argo -n argo --watch https://raw.githubusercontent.com/argoproj/argo-workflows/main/examples/hello-world.yaml
|
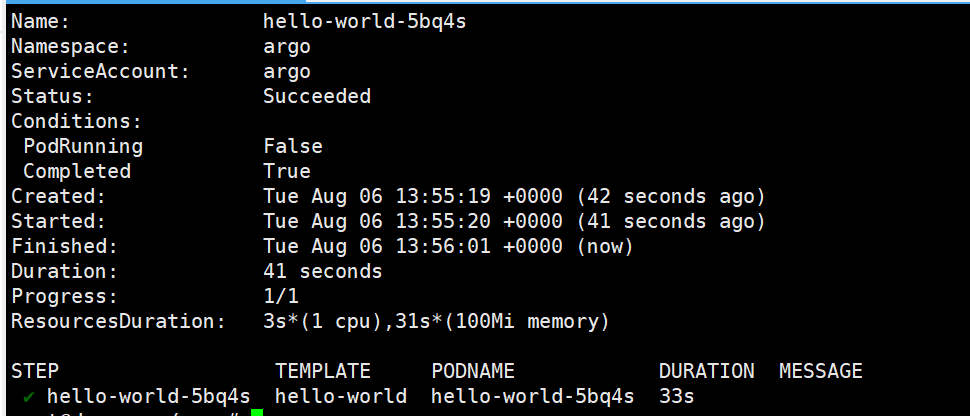
执行命令后,控制台看到的执行信息

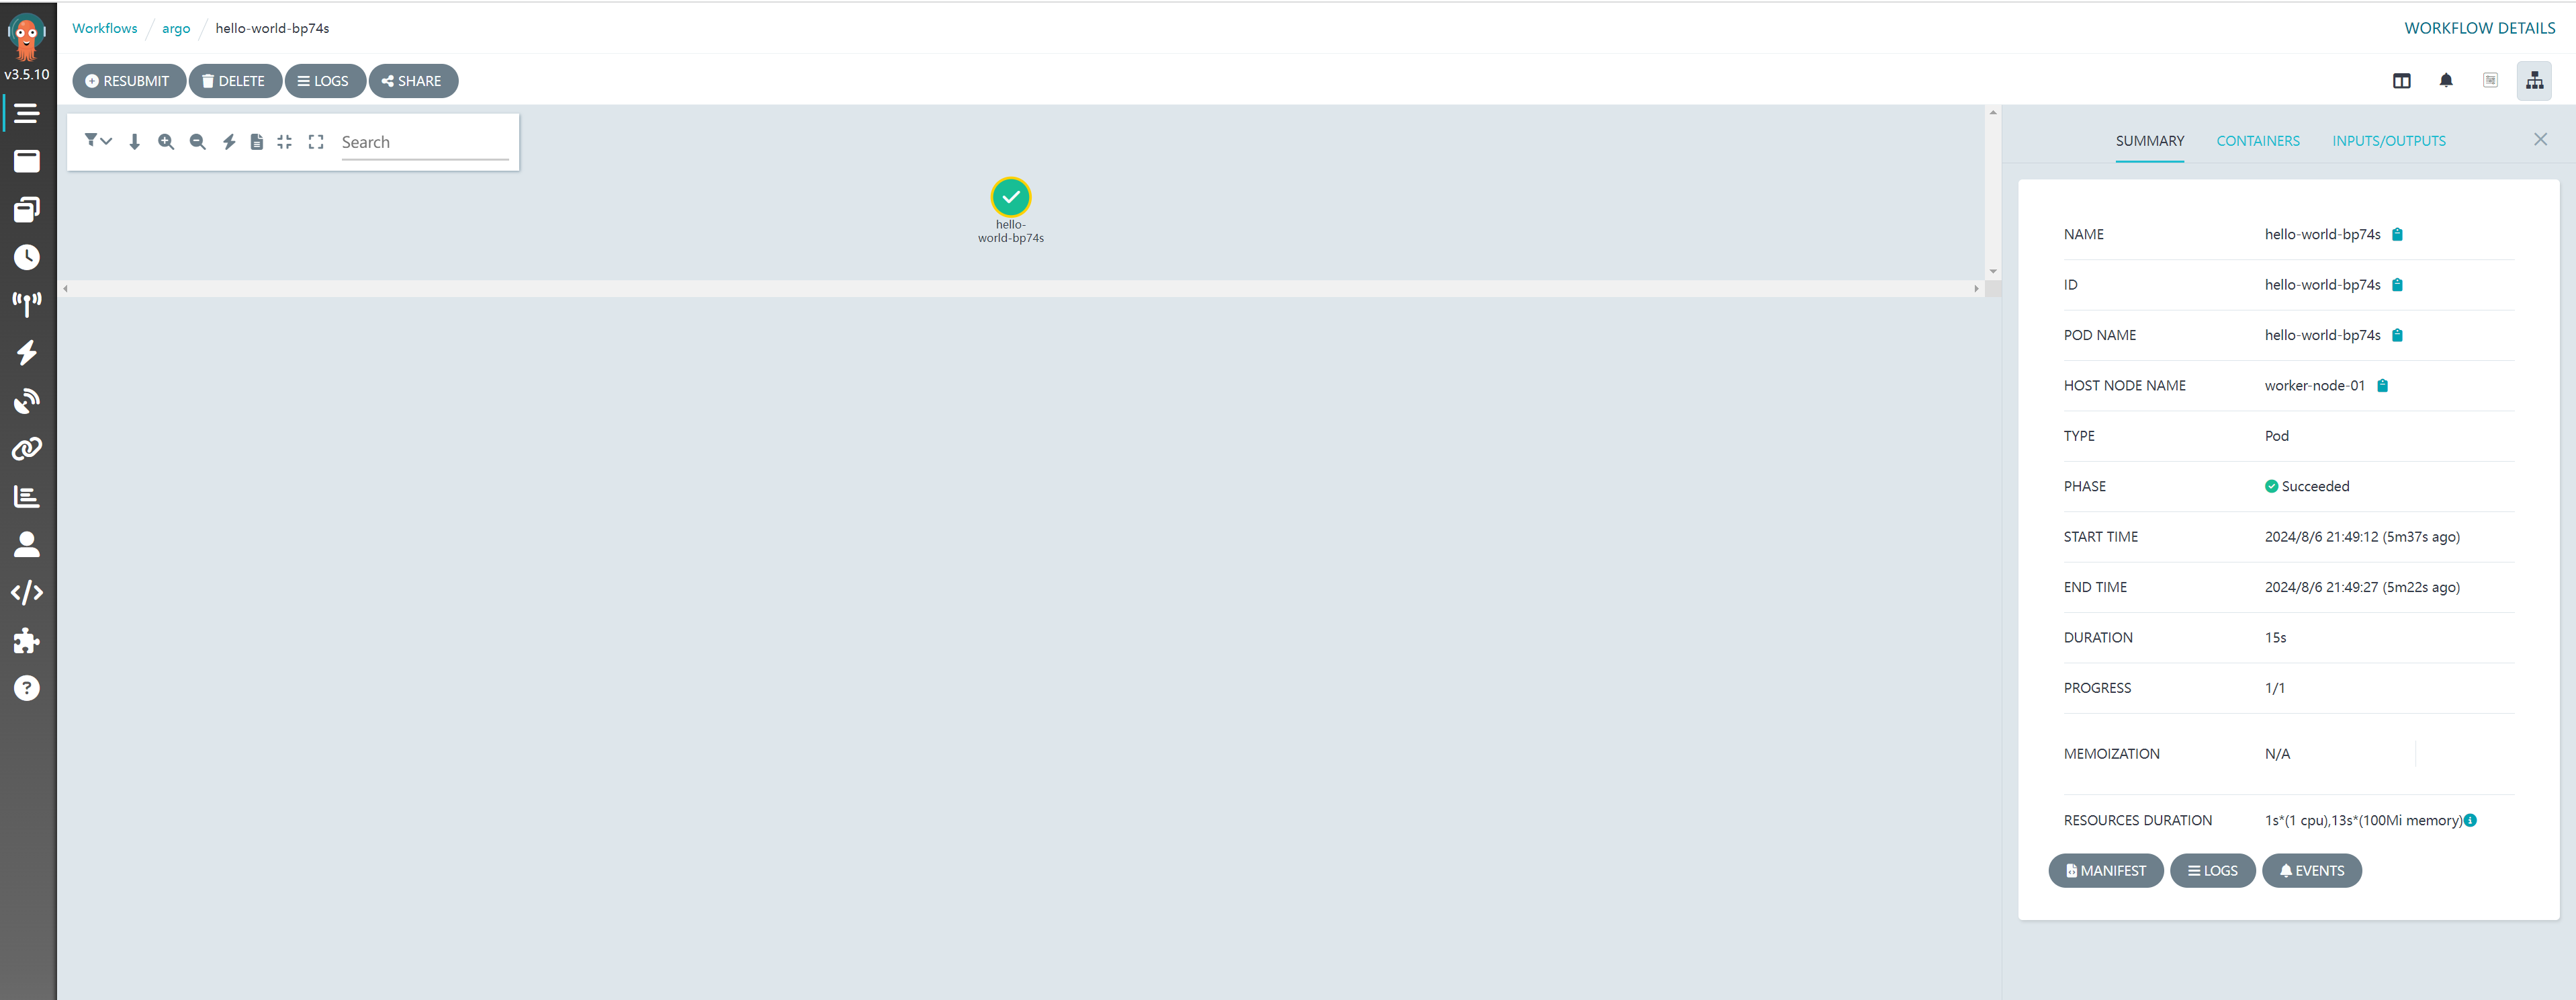
ui 中可以看到提交的工作流


